A practical guide to inclusive aquatic design
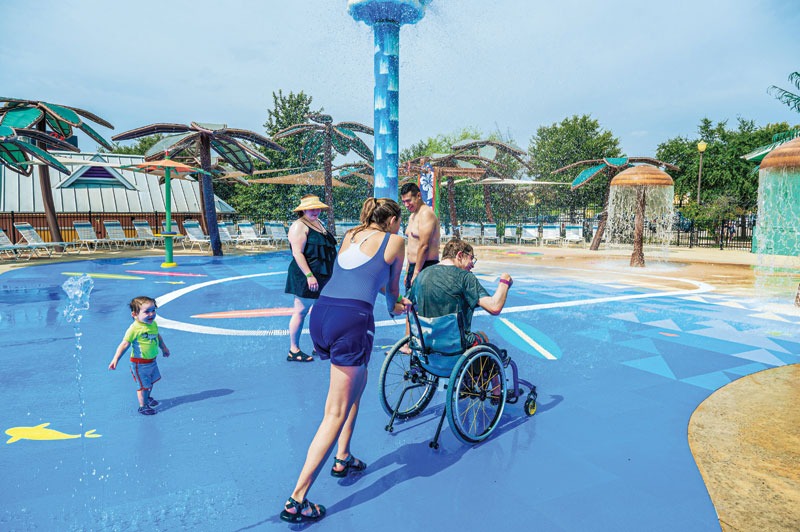
Disabilities and neurodivergent markers are not always visible. Pursuing improvements to access can feel difficult to navigate at times, so how can aquatic spaces be designed to excite and engage people of all ability types? And how can the industry respectfully inquire about access needs while building amenities that will continue to adapt over time? This involves first understanding guest usage, then asking questions in an inclusive way that does not limit how someone may experience life. The good news is that equipment updates do not have to happen overnight.
Phasing projects is a fantastic way to stagger the budget while staying focused on progress.
The aquatics industry changes often to adopt new regulations and cater to community needs. Water quality, chemicals, safety services, products, toys, lifeguards, cleaning schedules, surfaces; the list seems unending, and that is a good thing. Communities need to be flexible to meet these needs while supporting generational wellness.
Canada’s approach to accessible equipment is divided into federal and provincial rulings. At the federal level, the Accessible Canada Act (ACA) focuses on areas under federal jurisdiction beyond built environments, including employment, communication, and programming. One example of provincial legislation is Ontario’s Accessibility for Ontarians with Disabilities Act (AODA), which precedes the ACA by almost 15 years. AODA covers many of the same concepts as ACA, but its goal is to achieve a fully accessible province. Overall, regardless of the approach, accessibility acts aim to promote inclusion. The question to ask is, how can this mindset be taken a step further and make people truly feel welcome at amenities, even while checking all the basic boxes for codes and standards?
Considering access
Physical and neurological disabilities are equally important to consider when building a new facility or when retrofitting an existing one.
Sydney Pederson, partner communications manager at the International Board of Credentialing and Continuing Education Standards (IBCCES), shares, “[IBCCES’] president often shows this cartoon of a snowy day with kids waiting to get into school. There’s a ramp, and there’s a set of stairs, and the adult is shovelling the stairs. All the kids are waiting, and there’s one little child in a wheelchair who says, ‘Well, if you just shovel the ramp, then all of us can go.’”
Shovelling the stairs and then shovelling the ramp takes extra time. Both need to happen, but dealing with the ramp first means the kids can reach their destination faster, regardless of ability, and no one is left waiting. Pederson continues, “When you design a park around being able to accommodate and support every guest where everyone feels welcome, then everyone can benefit.”
Often, the first step toward improving access is an open mindset. During the exploration phase, when determining which questions to ask and whom to ask, it is important to understand the different types of mobility from an authentic perspective. Follow someone who uses a mobility aid, such as a wheelchair or crutches, from the parking lot to the amenity and back, and ask for their perspective. Also, purchase or borrow mobility aids to realistically traverse the same space from a similar physical perspective. With the latter, commit to parameters and try the route in several ways: vary arm strength, tactile motor control, solo vs. assisted journeys, and timed speed between touchpoints (e.g. does the door close too early, or do you have ample time to pass through?).
When asking questions about experience, keep inclusive language at the forefront. For example, rather than saying “when you walk in, what’s the first thing you see?” instead say “when you enter, what’s the first thing you notice?” This language change is subtle, but it opens the conversation to all possibilities rather than limiting it. “Walk in” becomes “enter” to account for mobility differences, and “see” becomes “notice” because not all guests may have full vision and may rely on tactile methods for navigation.
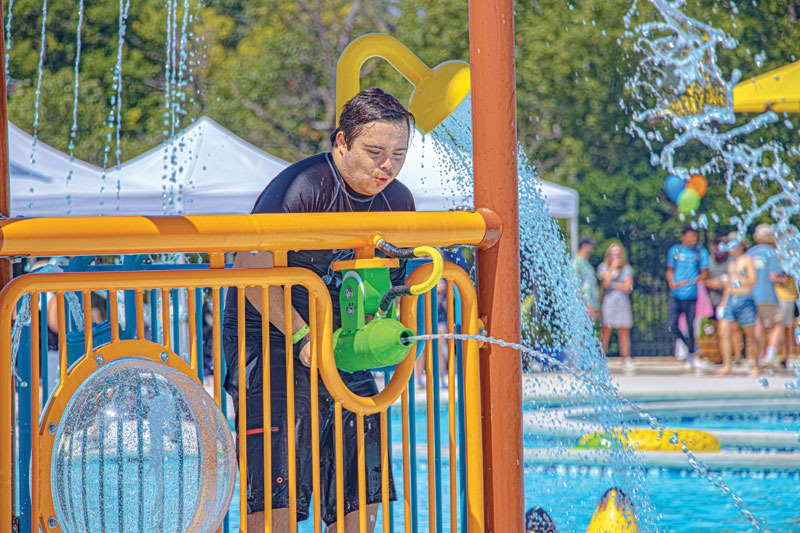
Sample case study: using mobility aids
Imagine an existing aquatic centre received a grant to improve accessibility. The team is excited and wants to implement changes, but does not know where to begin.
- Step 1: Understand the grant budget and start framing questions to ask community users. These questions will vary depending on specific centre and amenity types, but some high-level options may include:
- “When you enter the parking lot, are there sufficient parking spaces if arriving by car? Is there enough space on each side of the vehicle to exit safely?”
- If the facility has door opener buttons: “When entering the building, is there enough time to trigger the door opener and safely enter? Were there any obstacles or pressures you faced at this point?”
- “When entering the locker rooms, are touchpoints such as sinks, lockers, and hand dryers at proper heights? Is there enough clearance to comfortably move around the space? Do mats/surfaces allow for easy navigation, or were there traction issues?”
- “Within the amenity itself, what were you able to engage with? Was there anything you wanted to experience and couldn’t?”
- Step 2: Identify whether anyone on staff or closely connected to staff uses a mobility aid. For this case study, assume this connection does not exist.
- Step 3: If no one is available to understand their firsthand experience, either buy a wheelchair and crutches from a local store or see if a local health-care clinic has one available for borrowing.
- Step 4: Use the mobility aid to interact with the facility with specific goals in mind. Collaborate with a co-worker and ask them to document the experience by taking detailed notes. Try to use everything available to guests, from locker rooms and service desks to the water features themselves. If it is not intuitive or accessible, add it to the consideration list.
- Step 5: Compile findings and prioritize aspects based on how frustrating or limiting the experience was. For example, if the front door does not have a button to open it, that could be a solid way to improve a visitor’s initial experience with the facility. Also, document the successes.
If there was a fantastic experience, be sure to celebrate that with the team too. - Step 6: Research access equipment that fits the facility’s needs and begin preparing a proposal to submit for the grant.
6 Steps to Assess Accessibility at an Existing Aquatic Facility
|
In some cases, it is easier to look at physical structures and point out where there should be a ramp rather than stairs, or whether a hand dryer should be lower on a wall, but not all disabilities and special needs are visible.
Sensory experiences
Neurological disabilities are often more difficult to assess and predict because the range of sensory needs is vast. Autism is just one type of neurodivergence, but it is a spectrum with low and high sensory seeking behaviours common for different individuals with varied needs. Signs of low sensation seeking can include appearing unbothered by loud noises and seeming unresponsive to external stimuli such as touch or sight. This response display does not mean disinterest; it shows a different way of experiencing a space. They may have a greater focus on a single task and prefer to stay on the same feature for an entire play period.
On the other end of the spectrum, high sensation seeking can look like constant movement and an intense desire for strong sensory experiences through touch, sight, smell, or hearing. These people can often become overstimulated by this drive, and providing intentionally balanced, well-paced activities can help regulate their experience and extend the fun for longer periods.
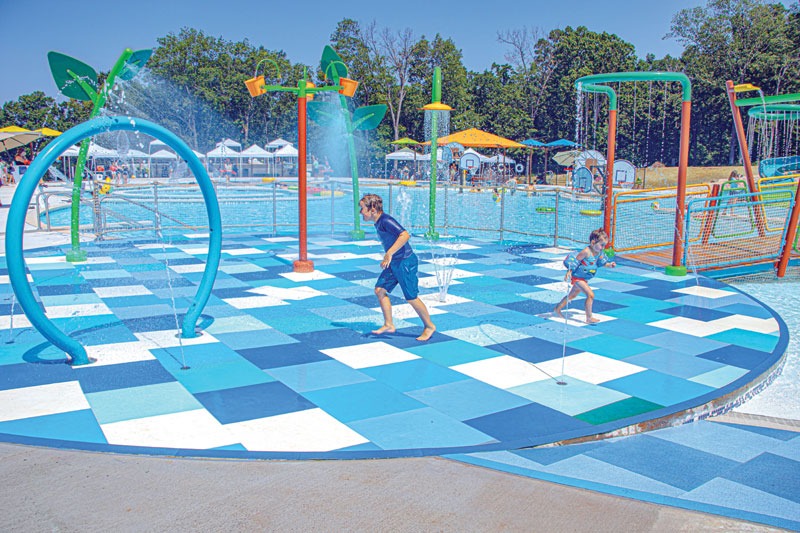
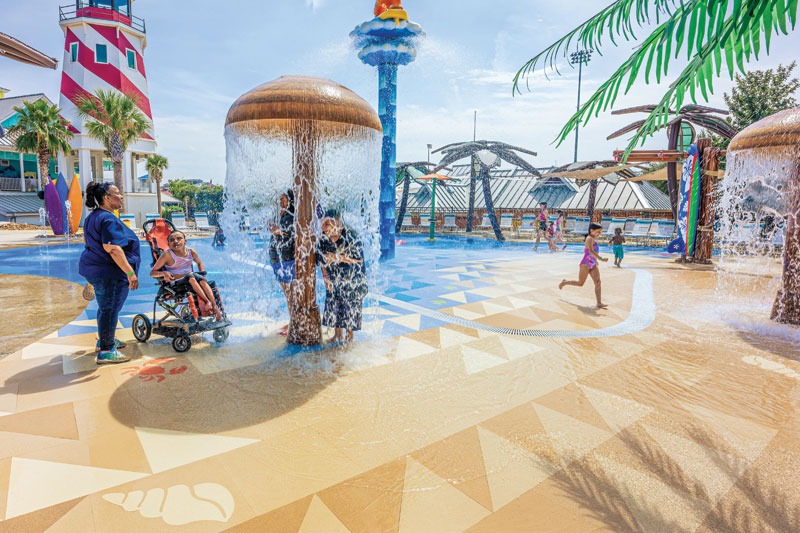
In general, dynamic products that enable visitors to self-select engagement are powerful when paired with zoning. Zones use visual and tactile signals to give guests greater confidence and let them know their environment is changing, without requiring obvious signage to detail it every time.
Common zoning tools include surface textures (e.g. safety surfaces for play zones and non-skid coatings for walkways), surface colours, guardrails, and uniquely themed spaces, among others. Physical boundary markers, such as planters or half-walls, may serve as both decorative and navigational tools. Caregivers can use a variety of visual signals to provide direction and help keep individuals within sightlines, using cues such as “stay on this side of the bright green planter” or “let’s play within the blue circle.” Regardless of how they communicate, zoning signals are a beneficial tool to employ thoughtfully throughout a space.
Inclusive Questions, Better InsightsThe way aquatic-facility teams ask about guest experiences can either expand or limit the feedback they receive. Use language that recognizes the different ways people move, perceive, and interact with space. Instead of asking, “When you walk in, what’s the first thing you see?” try: “When you enter, what’s the first thing you notice?” This small shift avoids assuming that every guest walks or relies on sight to navigate. Similar wording can help teams gather more useful input as they plan improvements—from parking and entryways to locker rooms, pool decks, and water features. |
When considering access, remember to have fun throughout the process. If the team loves the space and the updated ideas are exciting, the community will likely appreciate them too. If stuck at any point, industry consultants are a fantastic resource for advice, and many suppliers can help conduct free site walks and identify opportunities for improvement when they cannot be done in-house. If budget is a barrier, remember to seek out and apply for grants from both government and private sources. Some suppliers offer matching-fund grants; all that needs to be done is to ask. Stay positive and remember that choices to improve a space mean more people can play fearlessly and without limits, regardless of ability.
Author
Briana Valente serves as a marketing manager for Life Floor. She has been with Life Floor since 2018. She works extensively with industry publications, conferences, and workshops that bring meaningful education to individuals spanning municipalities, resorts, waterparks, and more. She holds a bachelor’s degree in marketing from the Carlson School of Management at the University of Minnesota.
Sign up for our newsletter
Get all the latest news and features from Pool & Spa Marketing. Submit your email below to get our twice-monthly newsletter.
Products

Read the Latest Issue